

Cookies help us deliver our services. By using our services, you agree to our use of cookies.
Search
You have no items in your shopping cart.
Blog - How to Position and fix a Cornice
20 March
For best results in all cases ensure that the surface to where the plaster coving is to be fixed and installed is clean, dry and flat. Repair major defects; slight defects will not be visible once the job is finished. The instructions on this page are relevant for both cornices and panel mouldings.
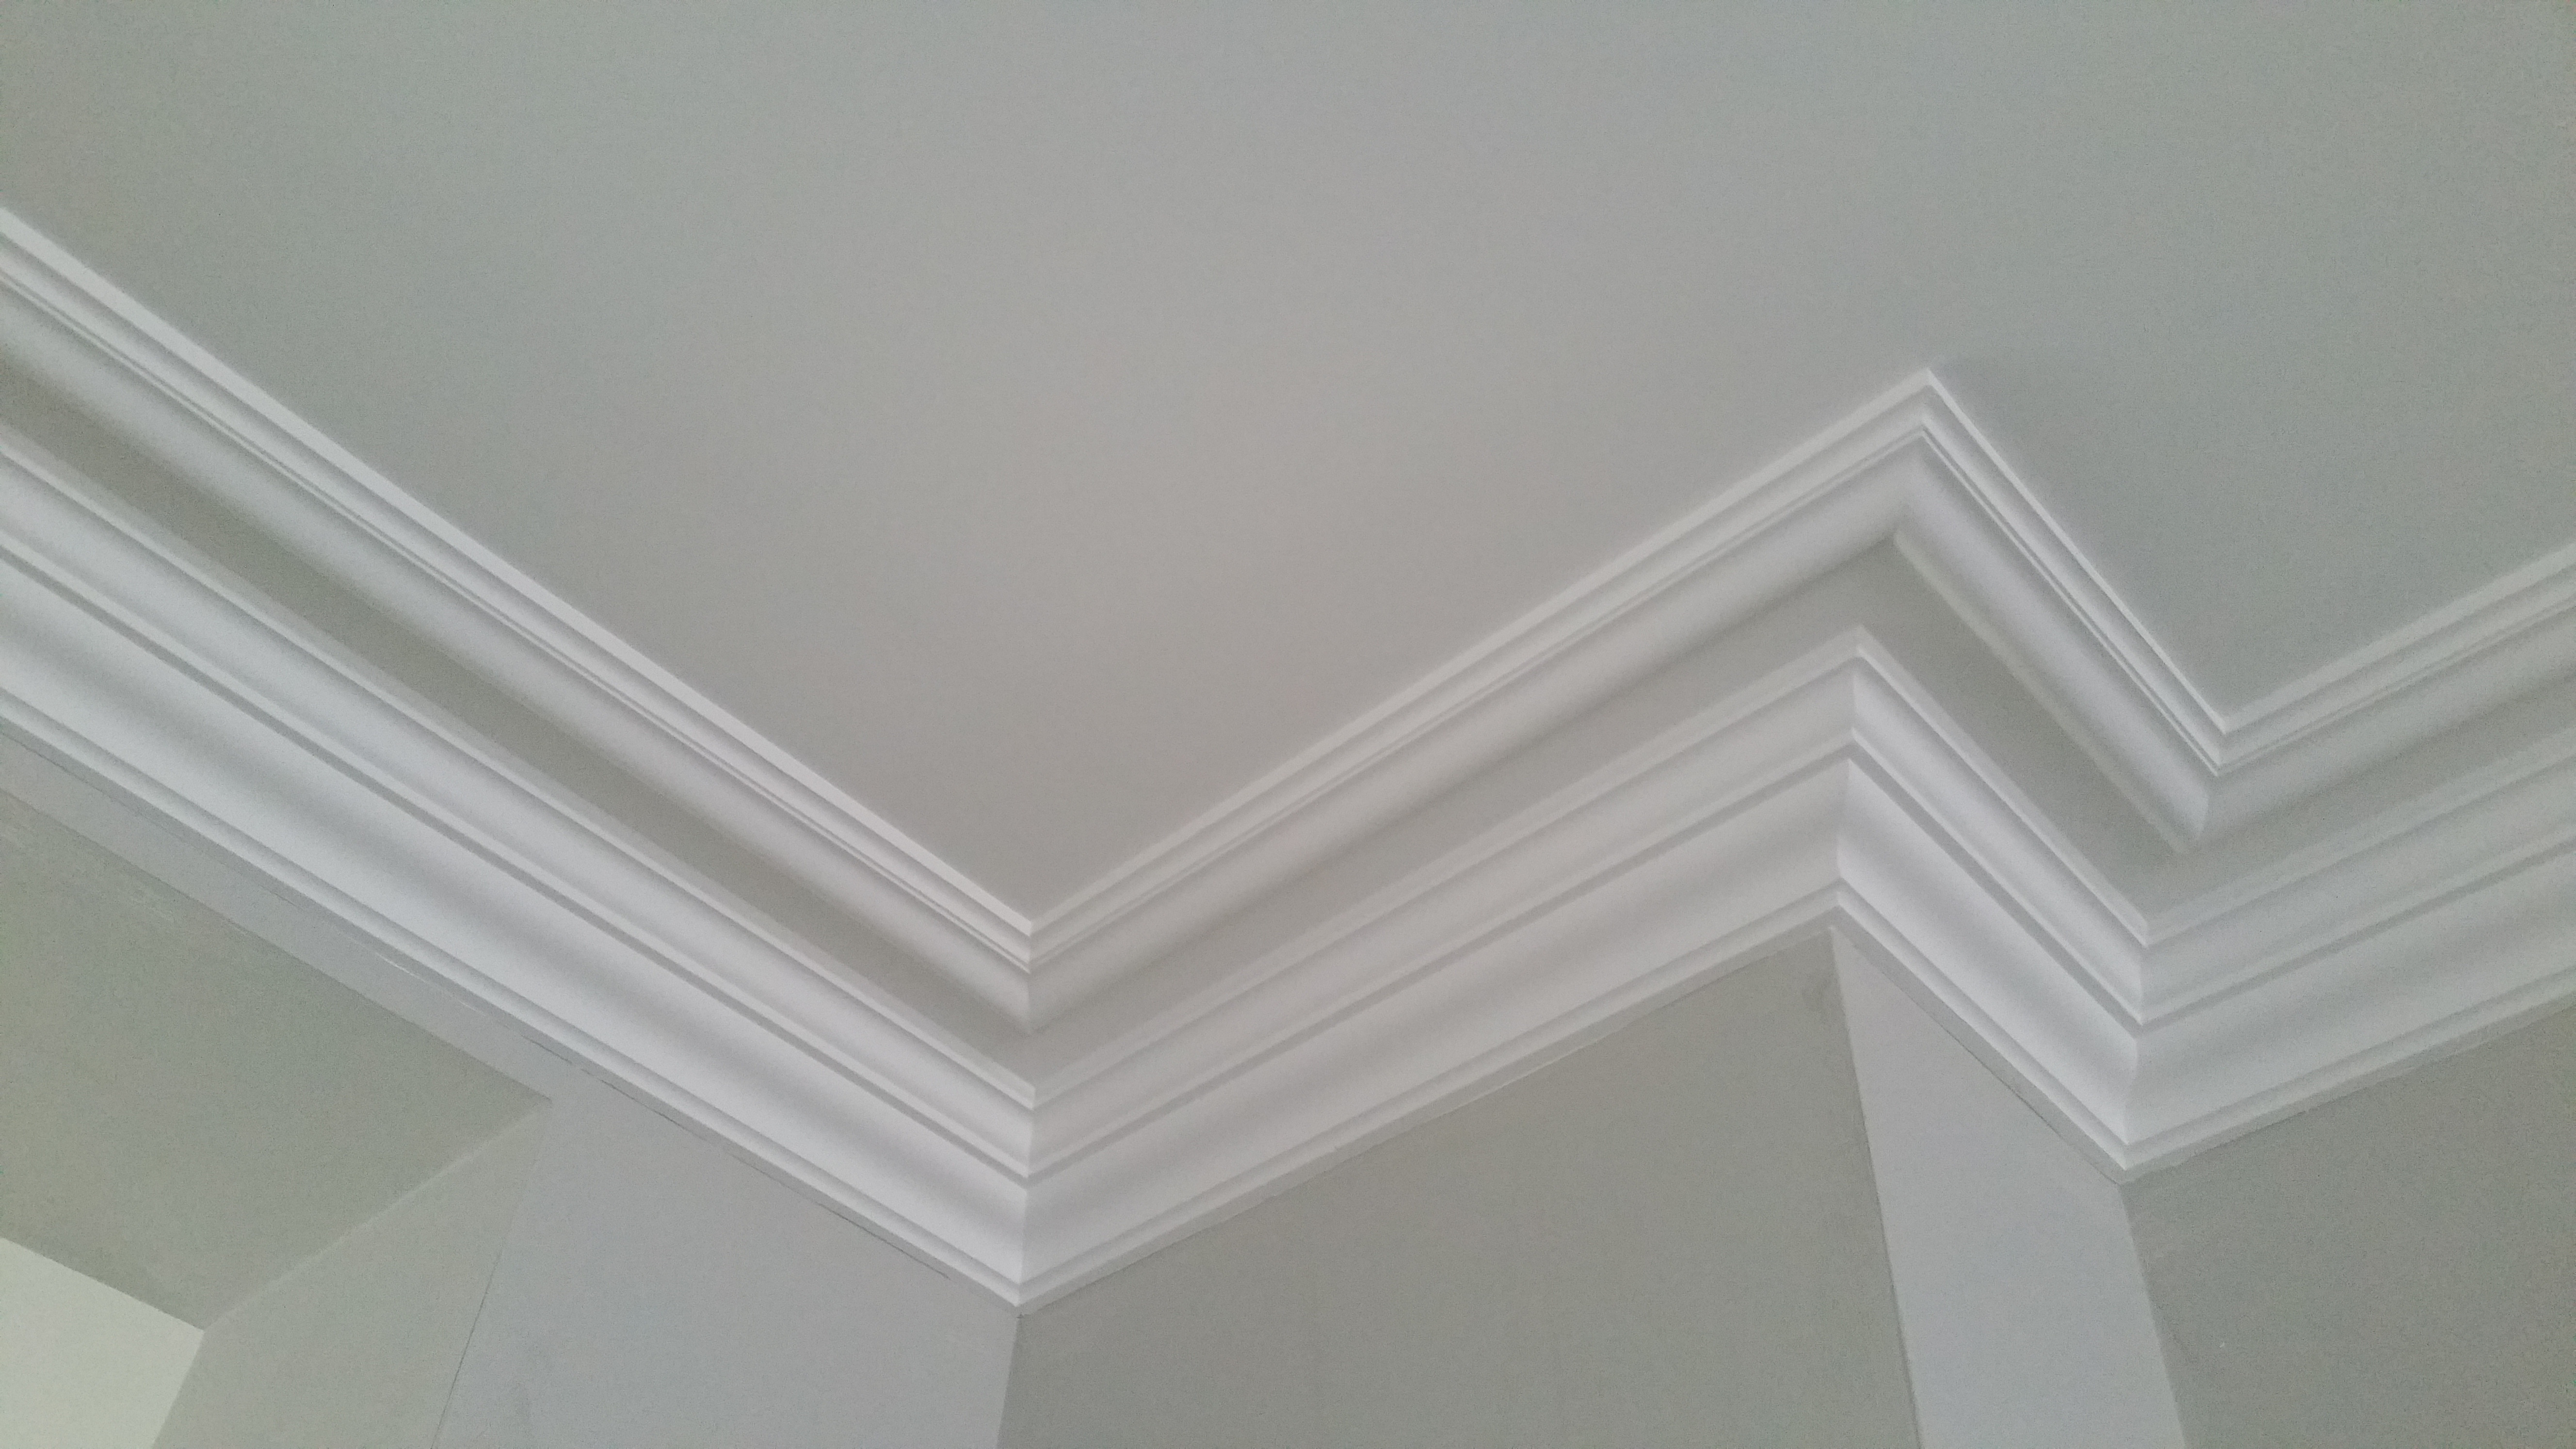
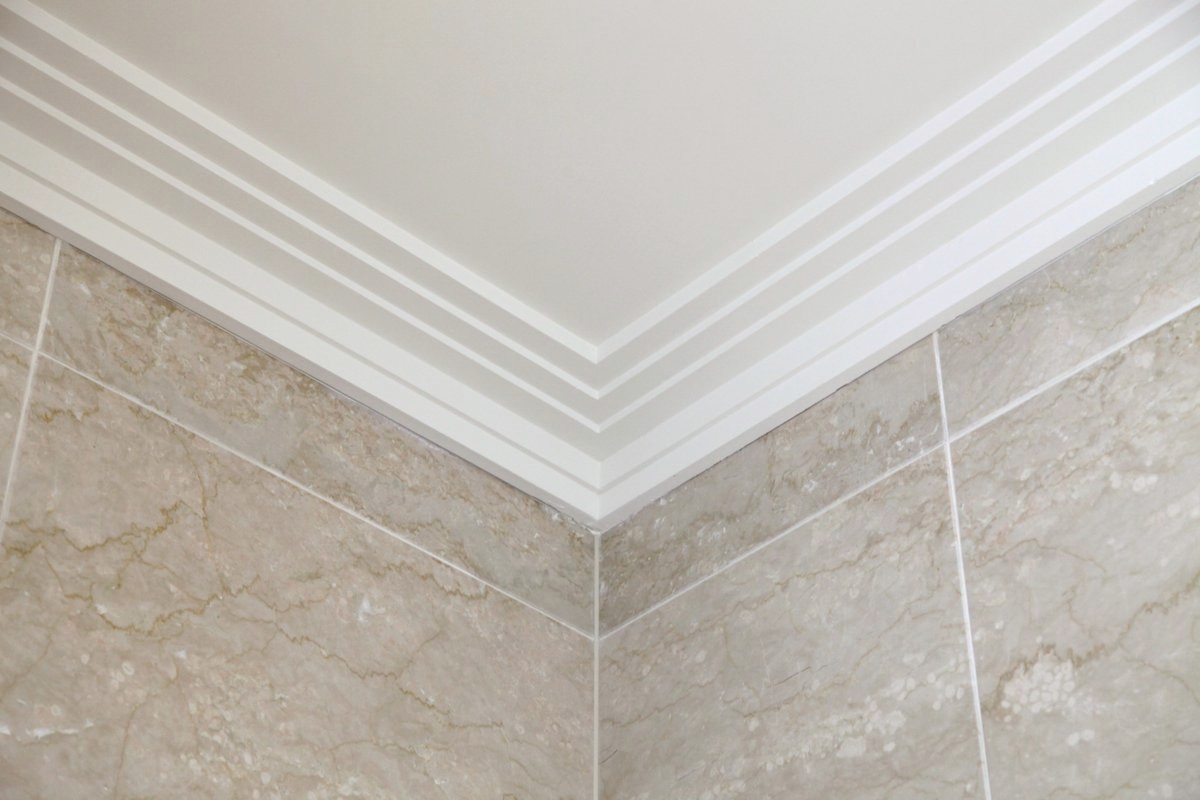
To Position and Fix a Cornice
Make a short template (about 150mm long) by cutting the end of a standard 3m length of cornice. Push it into the angle between the ceiling and the wall, until it ts snugly. Allowing for the thickness of adhesive (3mm), using a pencil, mark both the depth and projection of the cornice on the wall and ceiling on both sides of the corner.
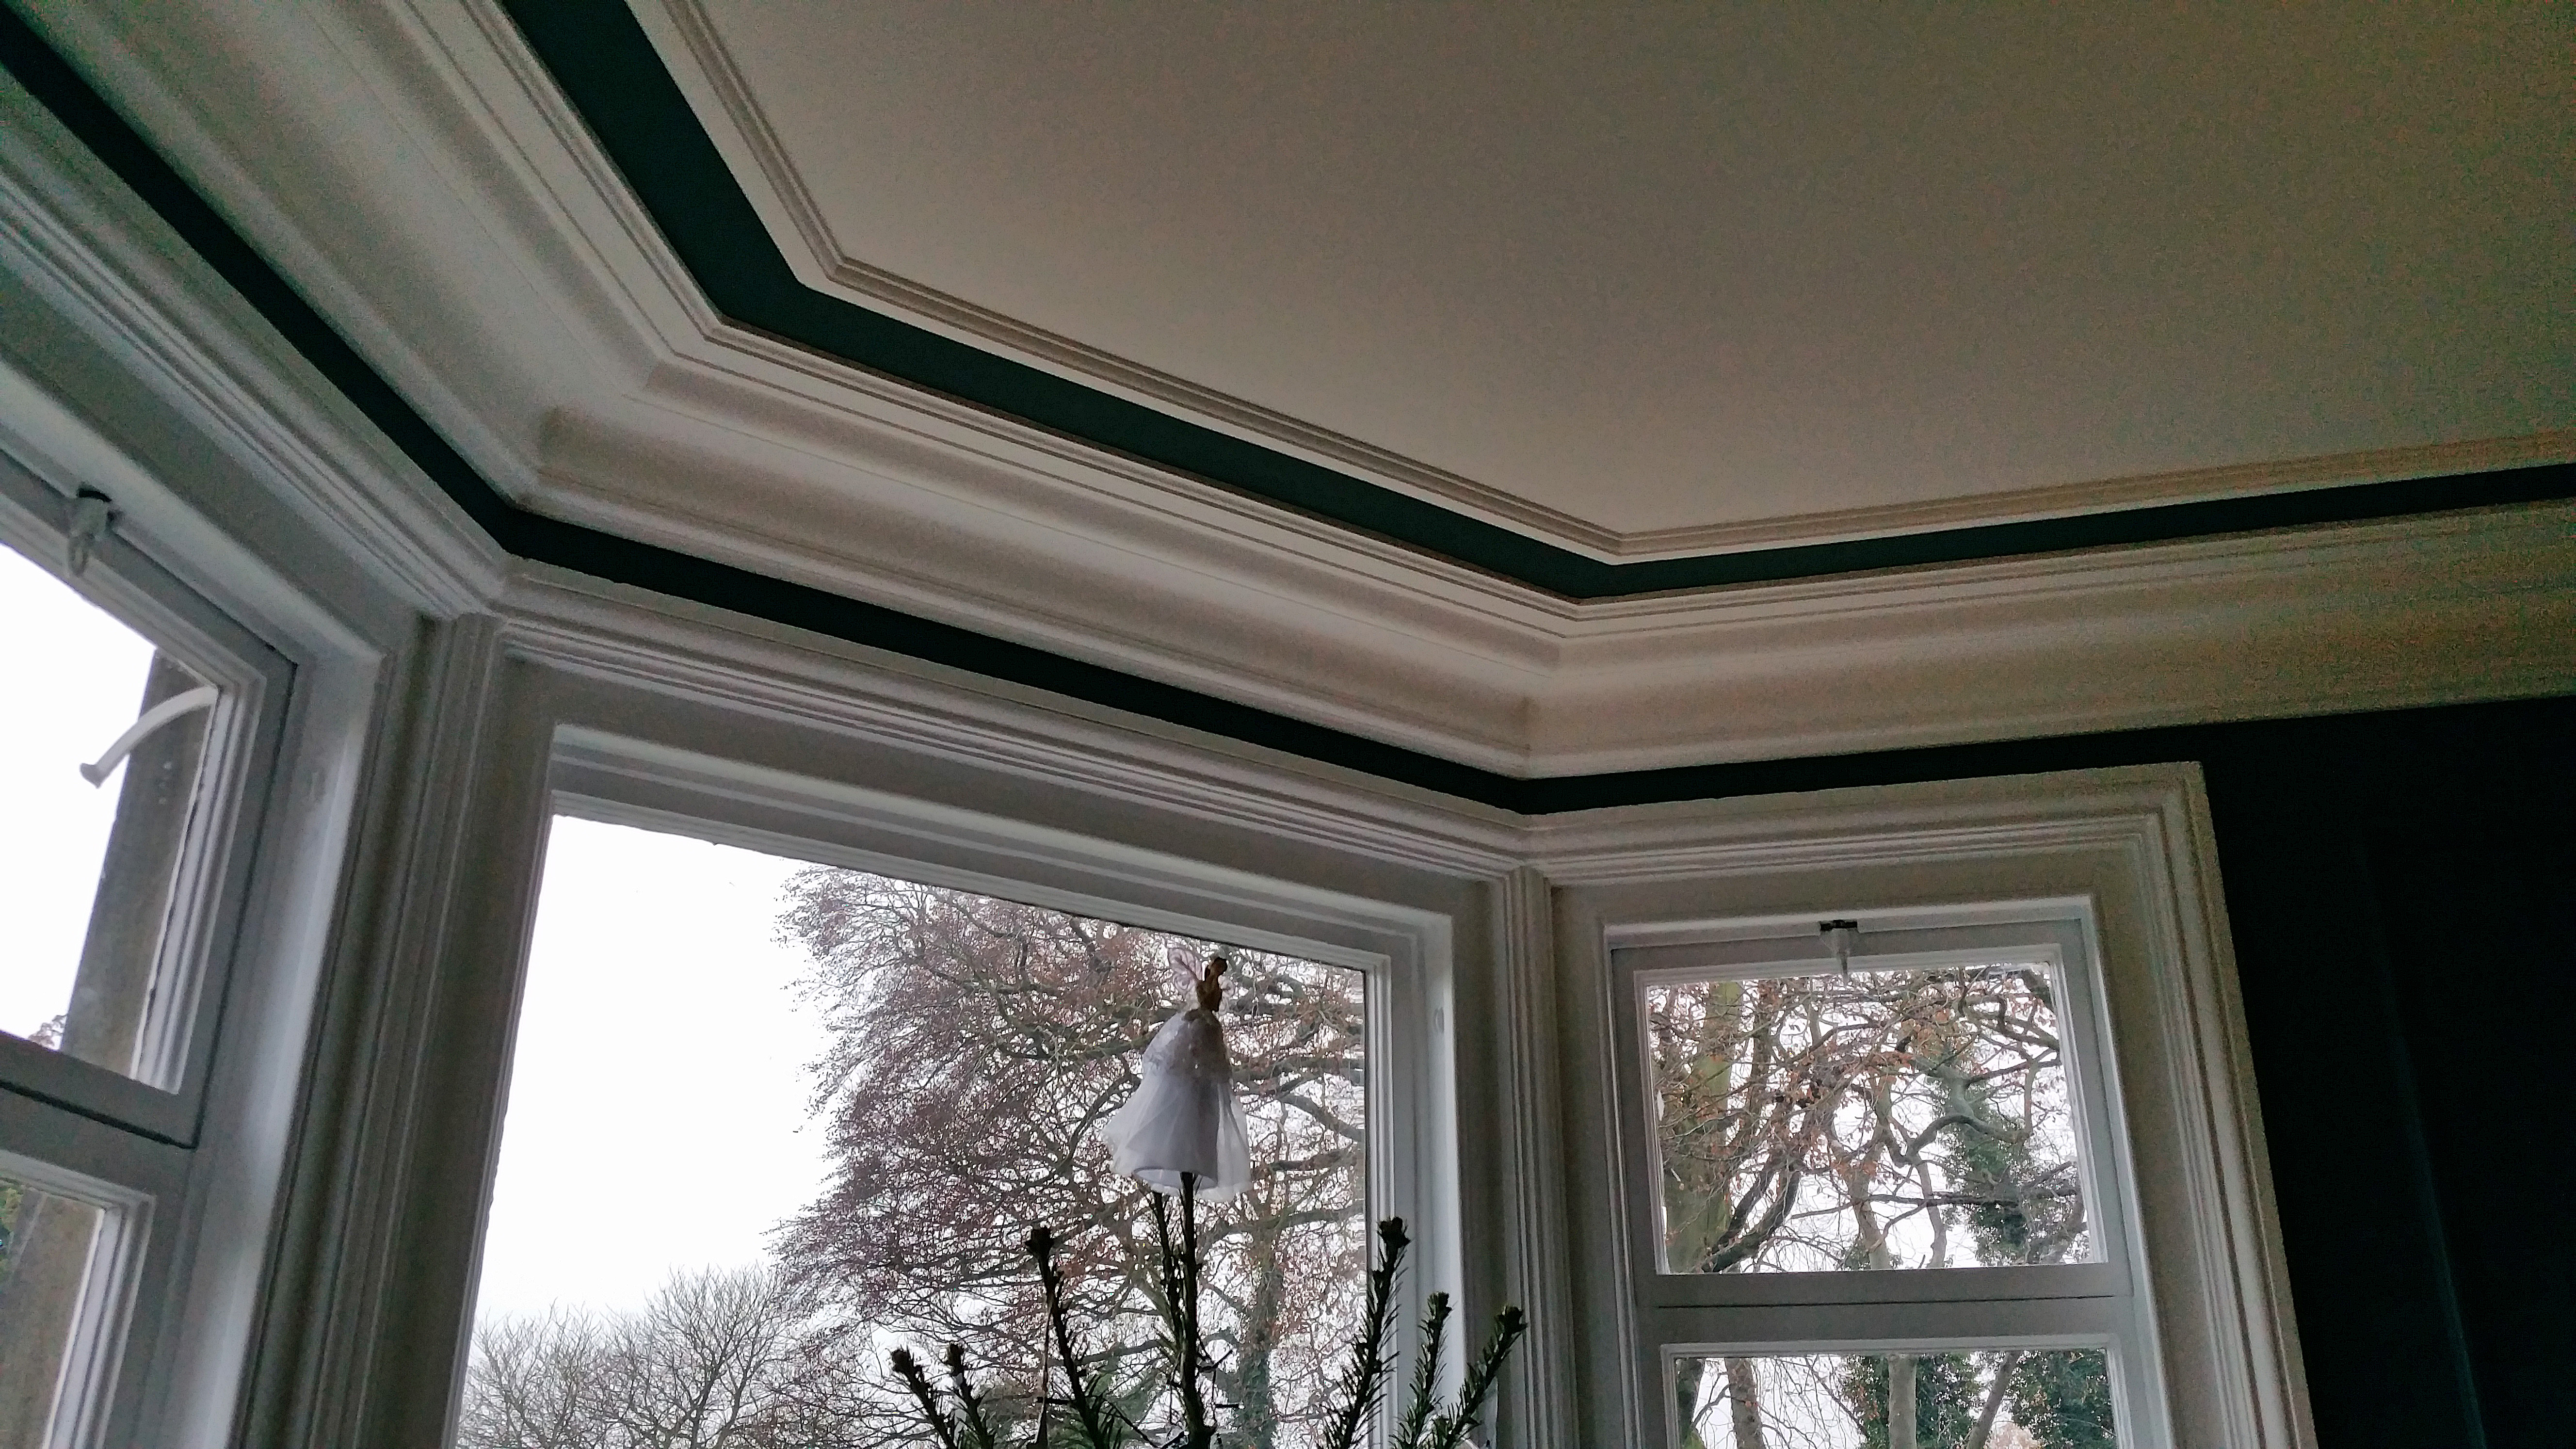
Repeat in all corners of the room, including external corners at alcoves and chimney breasts. Join up all the corner lines and markings so that you have continuous lines around the walls and ceiling.
Always use a recommended adhesive to fix cornices, we offer high quality adhesives available to purchase here. For added security nail or screw the cornice to the wall, and where possible to ceiling joists. Try to position the fixing points in a smooth section of cornice to ease filling and making good later. Ceiling joists can easily be found by systematically probing inside the ceiling guidelines with a nail. The cornice will eventually cover up these marks. After considering the pattern repeat, decide the most appropriate starting point and commence fixing. Cut the first piece and mitre the ends as necessary (see cutting a mitre). Spread the adhesive on the back of the cornice where it will be in contact with the wall and ceiling. Then ‘squeeze’ the cornice into the angle between the wall and ceiling on either side of the corner, ensuring it is as ‘tight’ as possible.
The guidelines should just be visible. Hammer in the nails halfway; do not knock them in all the way at this stage.
If you find the wall surface is off line, fix the cornice strictly to the ceiling lines you have marked, where straightness is most noticeable. Leave an approximate gap of 6mm between the mitred ends at the corners so that they can be ‘jointed’ using a proper jointing compound.
Continue fixing the remaining cornice around the complete room. When fixing two straight pieces leave a 6mm gap at the joint and fill in as you would for the corner joints.
Once all the joints are aligned, hammer home the nails below the surface of the cornice and fill in the holes.
Cutting a Mitre
Determine the projection of the cornice by measuring from the wall to the line marked on the ceiling. Transfer this mark to the relevant end of the cornice. If cutting an internal mitre, put the mark to the top end; if cutting an external mitre, put the mark to the bottom end of the cornice.
Prior to cutting, position the cornice upside down ie using the floor/workbench as the ceiling. Cut through the cornice, using a wood saw, in line with the markings.
Repeat above process for adjacent wall.
Filling Joints and Mitres
First mix a small quantity of plaster in water, until it has a milky consistency. Cut off a square piece of scrim cloth (hessian), which is about the same width as the cornice; soak it in the mixture. Wipe off the surplus, and using a filling knife or similar tool, push the scrim into the joint. Ensure the scrim is behind the surface of the cornice and then, using the semi dry plaster mix, continue to fill the gap. Clean off the excess using a filling knife, then brush away any loose material with a clean, wet brush. As the jointing plaster begins to set, carve back with a filling knife to create an invisible joint.
Finally, fill in the gaps where the cornice meets the walls and ceiling. Brush away all loose material. When completely dry you can paint the cornice.
Our standard range of off the shelf, hand crafted, fibrous plaster cornices can be viewed here. If you require any further assistance on how to install your Hodkin and Jones covings please don't hesitate to get in touch by calling 01246 290890 or alternatively, email info@hodkin-jones.co.uk.
Leave your comment